The lens offers good value for the money, but you have to bring some things into order before using it the first time:
- Clean the lens from grinding swarf. Don't forget it's Russian: high quality build, but apparently no final inspection before leaving the factory ;-)
- Mount the adapter for non-M42 cameras.
- Adjust focus ring for infinity on non-M42 cameras.
Caution: Work gently, do not force anything. If you use compressed air, keep some centimeters distance and avoid blowing at full power. Do not tighten the screws forcfully. The next grade after "tight" is "broken"!
Please don't forget that you will do the following steps at your own risk! Don't come wailing to me, complaining that you have ruined your lens!
What you need:
- A set of of small screwdrivers
- Bottle of compressed air
Cleaning the lens from grinding swarf
- First, you have to open the rearward mounting plate of the lens. Set aperture to f22. Remove the 3 screws and lift the plate
- Use adequate compressed air to remove the swarf. Blow into the side of the lens stack to remove particles that already rest on the lens surfaces.
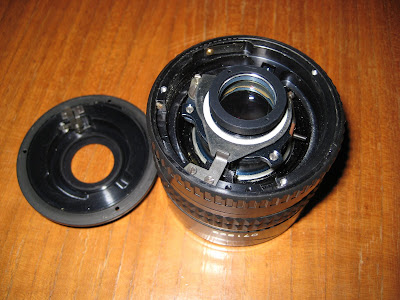 - Re-mount the plate. Take care to mount it accordingly, otherwise the lens diaphragm won't work. See below for correct position. The clip must extend into the lens on the right side of the pin. Carefully rotate the plate clockwise until the screw holes match. If you do it correctly, you can see the diaphragm opening while turning the plate into position.
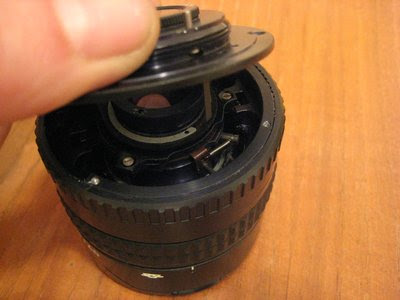 - Re-apply the screws.
- Now unscrew the front part of the lens and clean the inside with compressed air.
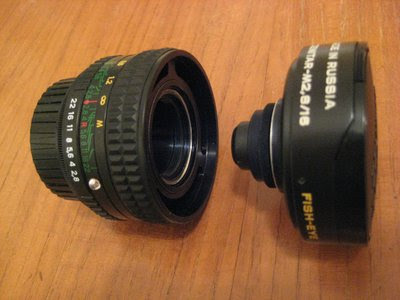 - Re-mount the the front part.
Mounting the adapter (Nikon)
There is a red dot on both sides of the adapter which has to align with the focus mark on the lens:
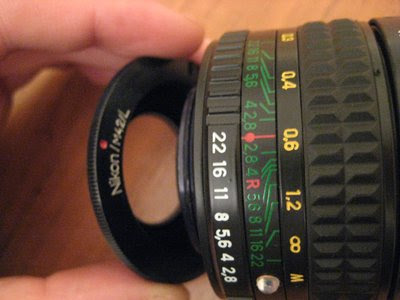 Screw in the adapter - then unscrew counterclockwise a few degrees until the marks align:
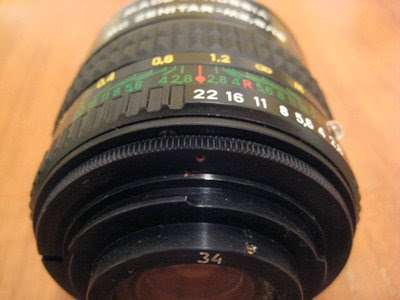 Fasten the small screw on the adapter to fix this position:
Adjust focus ring for infinity
- Set focus to infinity
- Now you have to move the focus rubber ring away from its position. That's best done with your fingernails and a little cautious force:
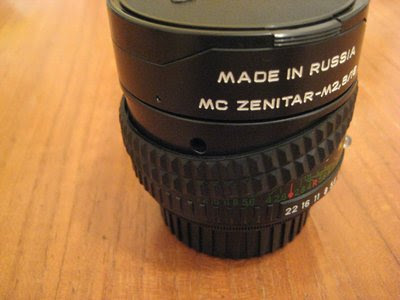 - This will reveal 3 holes with hidden screws. Loosen the screws (approx. one turn will be sufficient).
- Move the focus ring approx 2 degrees clockwise. In my example, i have selected the middle position between infinity and 1.2 meters. This should give enough headroom to focus even beyond infinity.
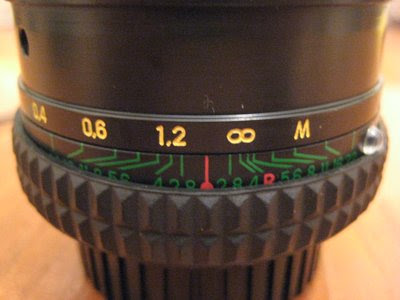 - Now carefully tighten the 3 screws, mount the lens on the camera and use a feature far away to focus to infinity. Use a piece of tape to fix the ring in this position and re-open the 3 screws.
- Remove the piece of tape. Align the focus marker and the infinity symbol and re-tighten the screws.
Now you're done! Enjoy your new Zenitar!
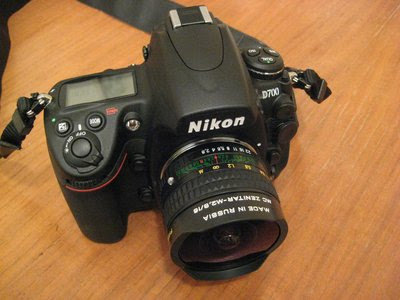
One downer at the end of the tutorial: On my Pentax ESII, for an unkown reason, the Zenitar sometimes blocks the shutter. I suspect, the rear filter housing extends too far into the camera and blocks the mirror. Unfortunately, the filter housing cannot be removed as it is part of the optical system of the lens. Any tipps how to circumvent this problem would be greatly appreciated....
